
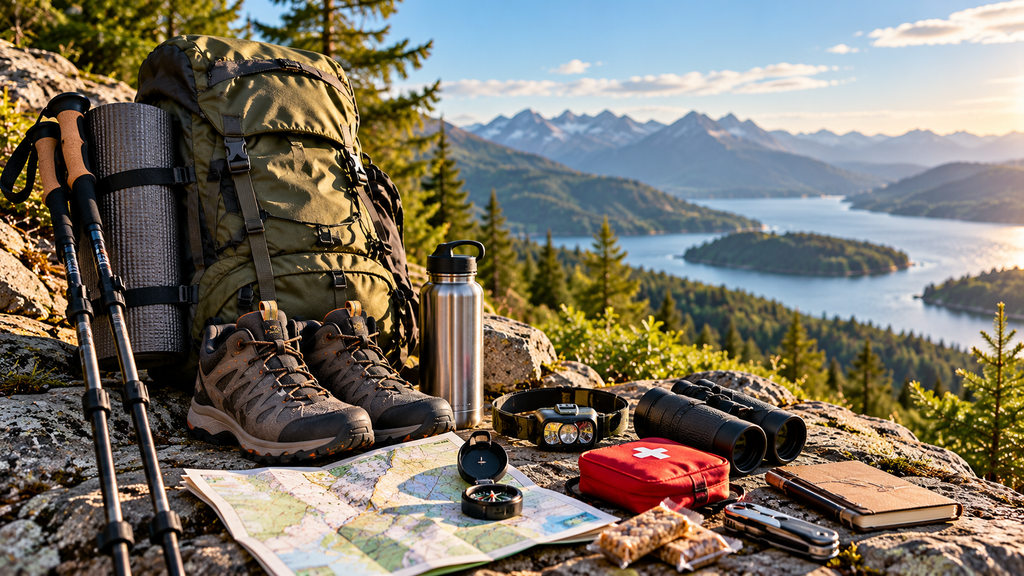
The right hiking kit starts with the route, not a standard checklist. A short, familiar walk on a marked trail near home usually requires less equipment than a remote outing with steep climbs, rough ground, river crossings, or limited access to help. Consider difficulty, distance, elevation gain, and likely pace. These factors shape how much water, food, clothing, navigation support, and emergency gear you need. Account for everyone’s experience and fitness, too: a route manageable for one hiker may take longer or demand more preparation with children or beginners.
Before departure, check current trail conditions and a reliable forecast for the area, including higher elevations where weather may differ from the trailhead. Look for closures, storm warnings, snow, mud, flooding, wildfire restrictions, or reports of damaged paths. Because forecasts can change, pack an extra layer and rain protection when conditions are uncertain. Estimate travel time based on distance, elevation, terrain, and the slowest person in your party. Allow for breaks, navigation pauses, and daylight, then set a realistic turnaround time. On remote or full-day hikes, include a wider margin for delays rather than relying on an ideal pace.
Share your route, destination, and expected return time with someone reliable. Agree when they should act if you have not checked in, and provide useful contact details. For a nearby, familiar walk, basic essentials may include water, a charged phone, and weather-appropriate clothing. A full-day hike needs more food, navigation tools, first-aid supplies, and backup power; remote terrain may call for additional safety equipment. Choose each item deliberately. Unnecessary gear adds weight and can make travel harder, but a light pack should still contain what you need if progress slows, you are delayed, or weather changes. Recheck the plan before leaving and adjust your kit if the route or conditions have changed.
Dressing in adjustable layers helps hikers respond to changing temperatures, exertion, and weather without carrying excessive clothing. Start with a moisture-wicking base layer that moves perspiration away from the skin; cotton can stay damp and feel cold. Add an insulating middle layer, such as fleece or lightweight wool, for warmth, then use a weather-resistant outer layer to block wind and shed rain. Choose quick-drying fabrics when possible, since damp garments can become uncomfortable during long hikes and take time to dry.
Select hiking shoes or boots according to the route’s surface, distance, and support needs. Lightweight trail shoes may suit well-maintained paths, while boots can offer added ankle coverage and protection on rough, rocky terrain. Fit matters as much as style: try footwear on with the socks you plan to hike in, ideally later in the day when feet may be slightly swollen. Check that toes have room to move, heels feel secure, and there are no pressure points. Break in new footwear on shorter walks before taking it on a demanding trail.
Good socks help manage moisture and reduce friction. Choose a comfortable hiking pair made from wool or synthetic fibers, rather than cotton, and ensure it fits without bunching. Sun protection is important even when the air feels cool: wear clothing that covers exposed skin, apply sunscreen, and bring sunglasses. A brimmed hat can shade the face and neck, while a warm hat can help retain heat in cold conditions.
Match clothing to the season, forecast, and terrain, and adjust layers as conditions change. Gloves are useful in chilly or windy weather, and a spare pair of socks can provide comfort if the first pair gets wet. Carrying a few practical extras allows hikers to stay comfortable without overpacking. Before setting out, check that garments allow easy movement and that footwear remains secure on the surfaces expected along the route.
A reliable daypack carries the items needed to stay hydrated, fueled, and comfortable without adding unnecessary weight. Choose what to bring based on the hike’s distance, elevation, weather, remoteness, and available services. A familiar short loop in mild conditions calls for a different load than a long route with exposed terrain or uncertain water sources. Keep frequently used items near the top or in accessible pockets, and secure heavier gear close to your back for a balanced, stable fit.
Bring enough water for the route and expected conditions, allowing for greater needs in heat, at altitude, or during strenuous climbs. Do not assume that a stream or tap will be available unless you have checked current information. If you plan to replenish water on the trail, carry a suitable filter, purifier, or treatment method and know how to use it. A refillable bottle or reservoir makes drinking convenient; check its capacity and condition before setting out.
Pack nourishing snacks or a meal that suits the hike’s length and your preferences. Options such as fruit, nuts, sandwiches, or energy bars can provide convenient fuel, while a longer outing may call for more substantial food. Include a compact insulating layer, even when the day begins warm, and a lightweight rain shell if conditions could change. These layers can help manage temperature and keep you more comfortable during breaks or unexpected showers.
Small practical items also make a difference: a trash bag for carrying out wrappers, tissues, sunscreen, insect repellent, and a headlamp with spare batteries or a charged backup power source. A headlamp remains useful if delays push a daylight hike toward dusk. Group related supplies in small pouches, keep essentials easy to reach, and review the contents before each trip. Treat any checklist as a starting point, then adjust it to the route, forecast, season, and your own needs rather than packing mechanically.
Reliable navigation starts with knowing how to use a map and compass, not simply carrying them. Before leaving, review the route, identify landmarks and junctions, and check the map’s scale and contour lines. A charged phone with an offline map adds convenience, but it should be a backup rather than the only plan: signal can disappear in remote areas, and cold, heavy use, or an aging battery can drain power quickly. Download maps in advance and consider carrying a power bank on longer outings or routes with limited access to help.
A compact first-aid kit should match the route, group size, and likely risks. Include basic dressings, antiseptic wipes, any personal medication, and blister-care supplies such as moleskin or blister pads. A whistle can help attract attention if you become separated or injured, while an emergency blanket offers lightweight protection from heat loss. Learn how to use these items before they are needed, and adjust the kit for the season, trip duration, and needs of your companions.
Accessories are most useful when they address a specific challenge. Trekking poles can improve stability on steep, uneven ground and reduce strain on knees during descents, though they may be unnecessary on short, smooth trails. Sunglasses help protect eyes from glare, especially above the tree line or near snow. A small repair kit with items such as tape, cord, and a multitool can address minor equipment problems. A waterproof pack cover is useful in sustained rain, but a pack liner can provide extra protection for essential clothing and electronics.
Before setting out, check that gear is present, functional, and suited to the forecast and route; confirm that maps are downloaded and safety items are accessible. Make sure each hiker knows how to use the equipment and understands the plan. Protect the trail by following Leave No Trace principles: stay on established paths, pack out all rubbish, respect wildlife, and leave natural and cultural features undisturbed. Thoughtful preparation supports both personal safety and the lasting health of places people hike.